
In my family, nothing says “I love you” like a freshly baked pie. Blackberry pie is my favorite, and my dad knows it. So when I journey back to Tacoma, WA for a visit and there’s a warm, lattice-top blackberry pie on the kitchen counter, the pastry says what words can’t. I love you too, Dad!

Dad with his lovingly crafted lattice-top pie.
For this pie, either fresh or frozen blackberries will work. Dad grows his own Cascade berries (a blackberry cultivar) in his backyard garden; Cascade berries are tart and close in flavor to the low-growning wild blackberries found in the Pacific Northwest. (Not to be confused with the weedy, plump wild blackberries which are much sweeter.) Taste your berries before making the pie; if they don’t make you pucker a little, use up to 1/4 cup less sugar. Most of the time I use frozen Marion berries (yet another cultivar) like these:


Dad picking pie-perfect Cascade berries from his backyard garden.

Wild Pacific Northwest blackberries; like finding hidden treasure!
Dad’s Blackberry Pie
Serves 6-8
- Approximately 6 cups wild or frozen blackberries (I use 3 10-oz bags of frozen)
- 2/3 cup granulated sugar
- 1/3 cup brown sugar
- 1 tablespoon flour
- 2 tablespoons butter
- 2 pie crusts (recipe below)
- Vanilla ice cream for serving
Heat oven to 400ºF.
Add berries (if frozen, no need to thaw), sugars and flour to a large bowl and stir to coat.

Add berry mixture to prepared pie crust. Dot with 2 tablespoons butter.

Top with second pie crust – either solid or lattice strips – and crimp edges to seal. (Details below.) Cover the edges with foil or special crust protectors to prevent the edges from overbrowning or burning.

Crust guards prevent edges from burning.
Place pie on a baking sheet, then place in the oven and bake 45-55 minutes, or until crust is golden brown and pie is bubbling. Allow to cool at least 30 minutes before serving.

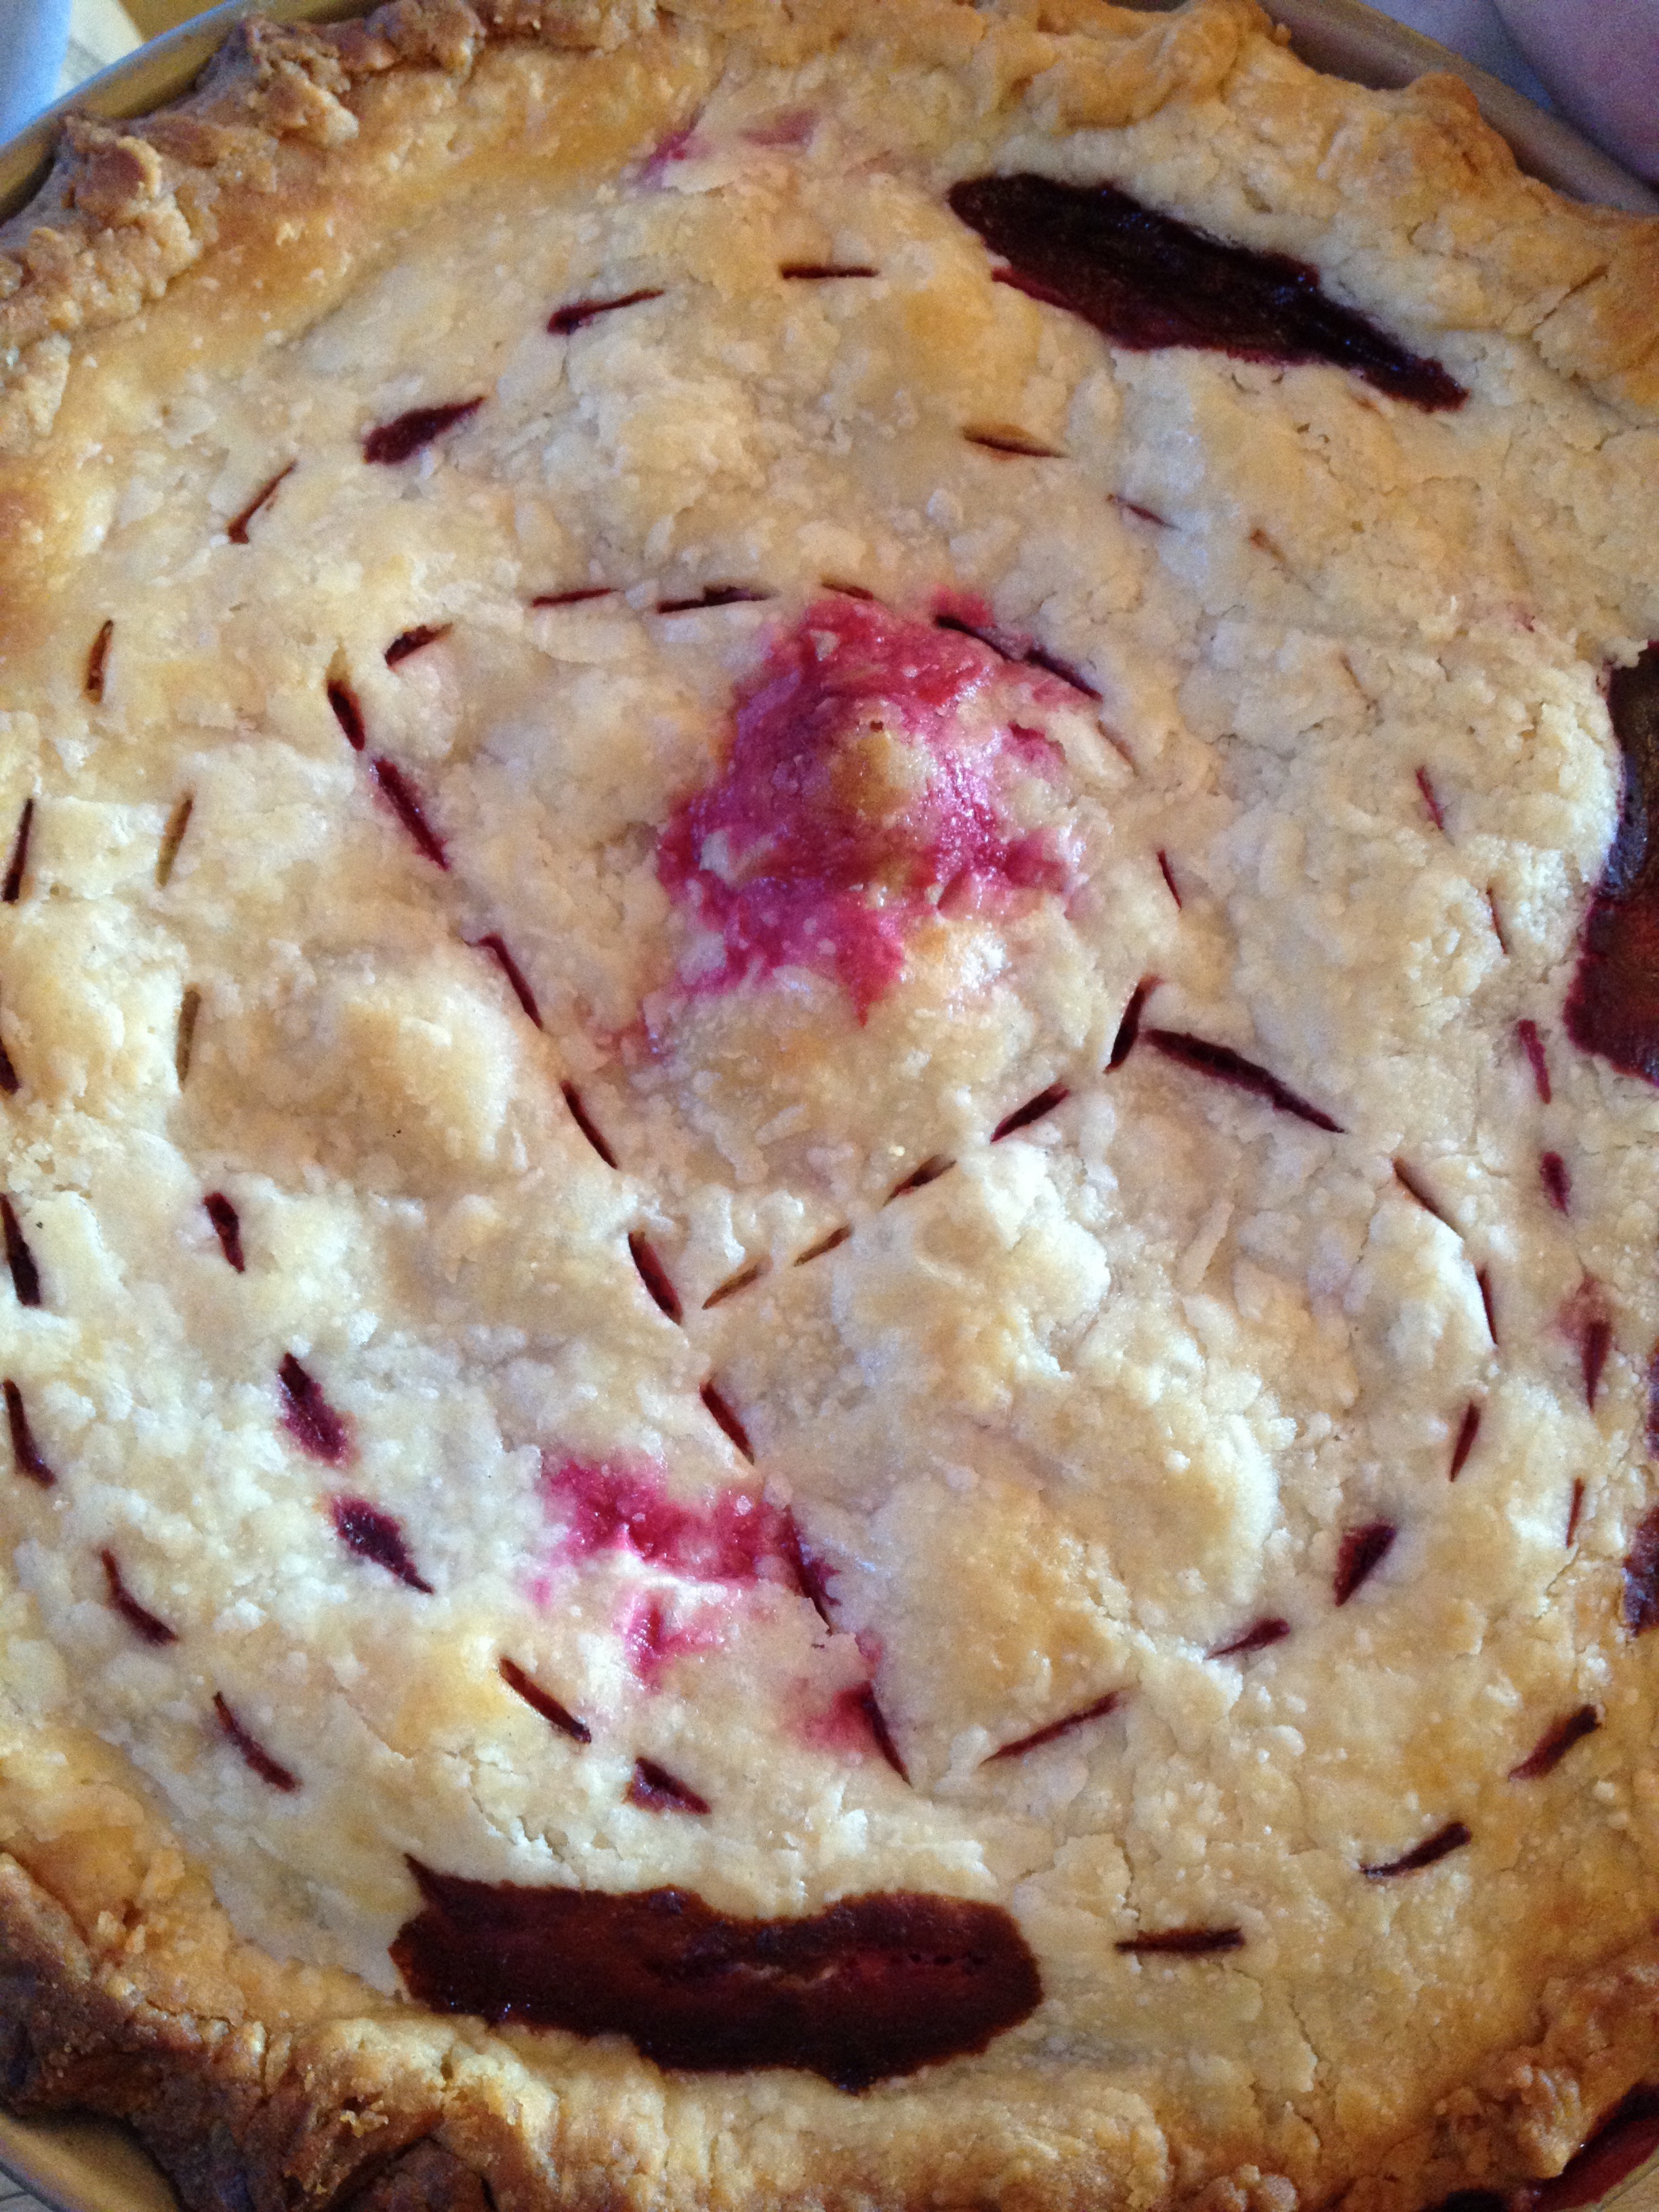
Pure pie perfection!

The next generation of blackberry pie fans.
Dad’s Pie Crust
Makes 2 crusts
- 2 cups all-purpose flour
- 1 teaspoon salt
- ½ cup vegetable shortening (i.e., Crisco)
- ¼ cup unsalted butter
- 4-6 tablespoons ice cold water
Place ingredients in a food processor and pulse a few times. With the processor running, slowly add 4-6 tablespoons of ice cold water until the dough comes together when pinched. (Or – do by hand with a pastry blender as Dad does.)
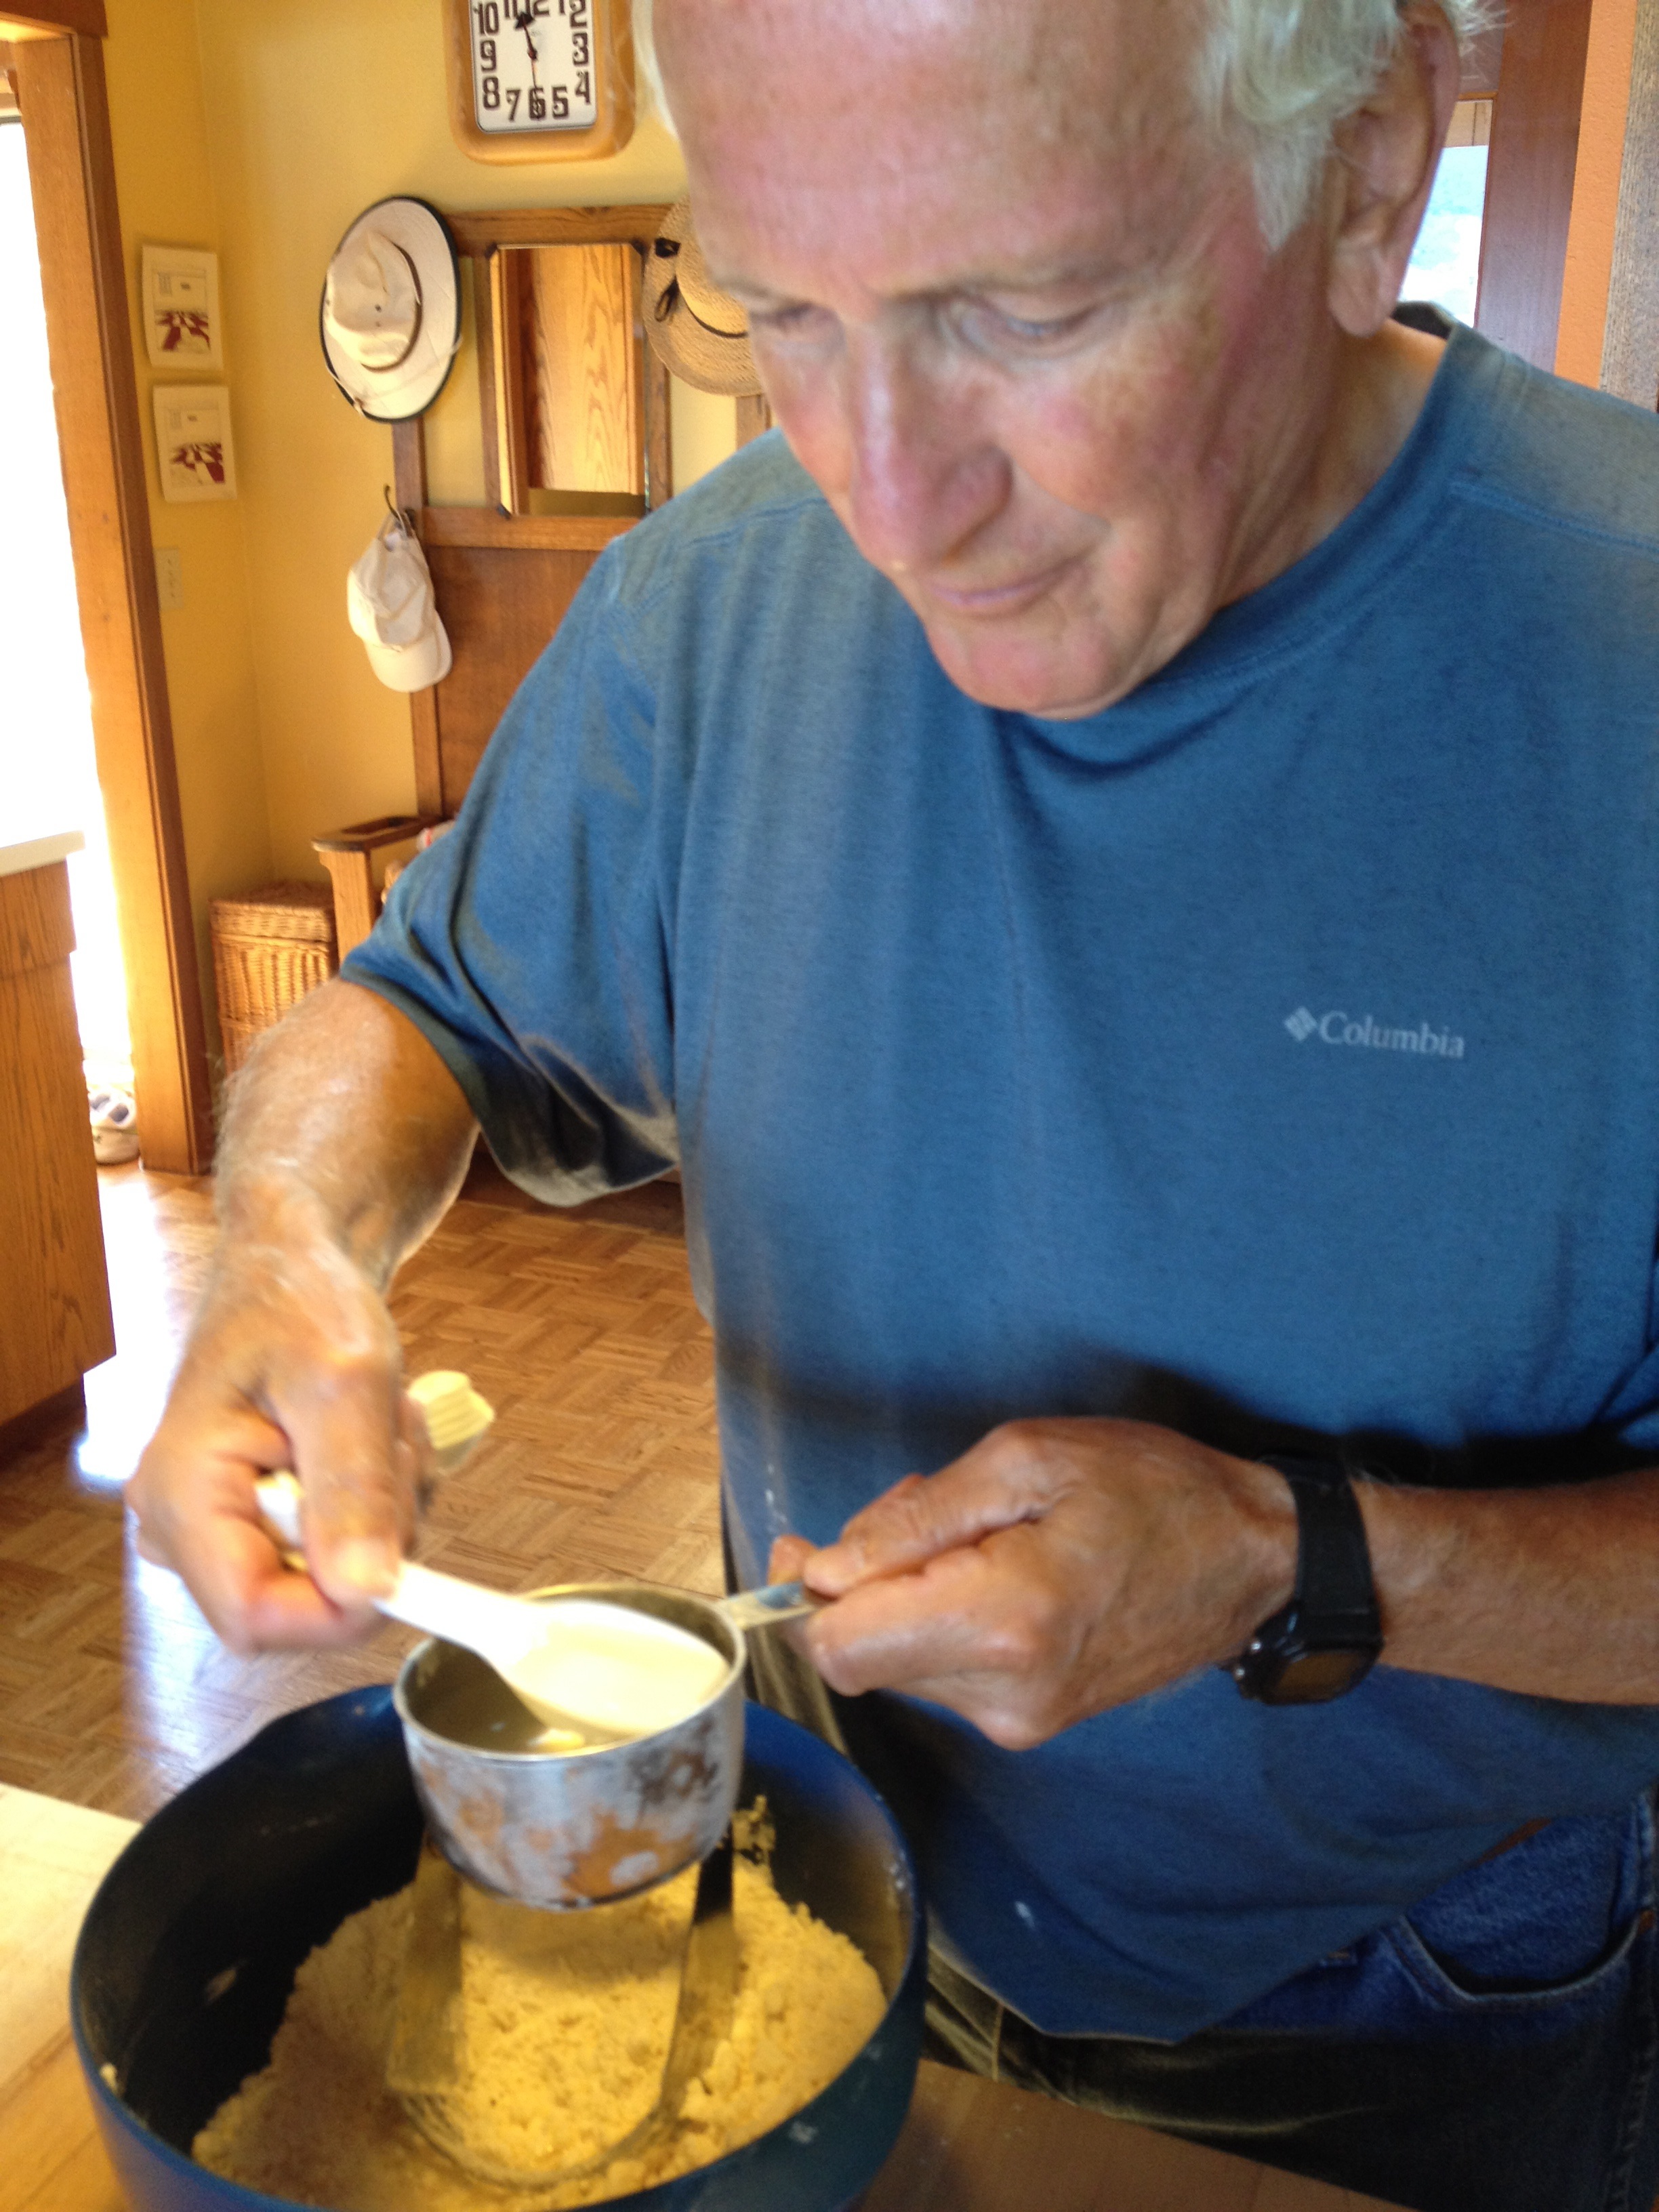
Dad prefers to mix his crust by hand. I like the ease of the food processor. (His crusts are usually flakier, and this may be why.)
Divide dough into 2 even balls.

Roll out each dough ball between a sheet of parchment or waxed paper and a top sheet of plastic wrap until dough is about 1/8” thick and large enough to cover the pie plate with a little extra.

For the lower crust, carefully lift rolled out dough circle off the waxed paper lower sheet and transfer to pie plate. Then press dough down into pie tin and remove plastic wrap.

Testing to see if dough is rolled out enough.

GENTLY placing the dough into the pie plate.
Add pie filling.
For solid-top pie, place second rolled out disc on top of pie filling and trim dough to about a 1” overhang. Press edges together, and tuck the overhang under if there’s enough dough. (Sometimes I only have enough in places to press together.) Make a decorative crimped edge by placing your thumb and index on the inside edge of the crust and using your other index finger to push the dough between your thumb/index finger. (Easier than it sounds.) Make several slits in the top crust to allow steam to escape.
When pressed for time, a solid pastry top is just as delicious as a lattice top.
For a lattice top, cut the second dough disc into even strips, about ¾” wide.

Start weaving strips in an under-over pattern until the lattice top is complete. Trim excess dough to about 1”, then press and crimp as outlined above.


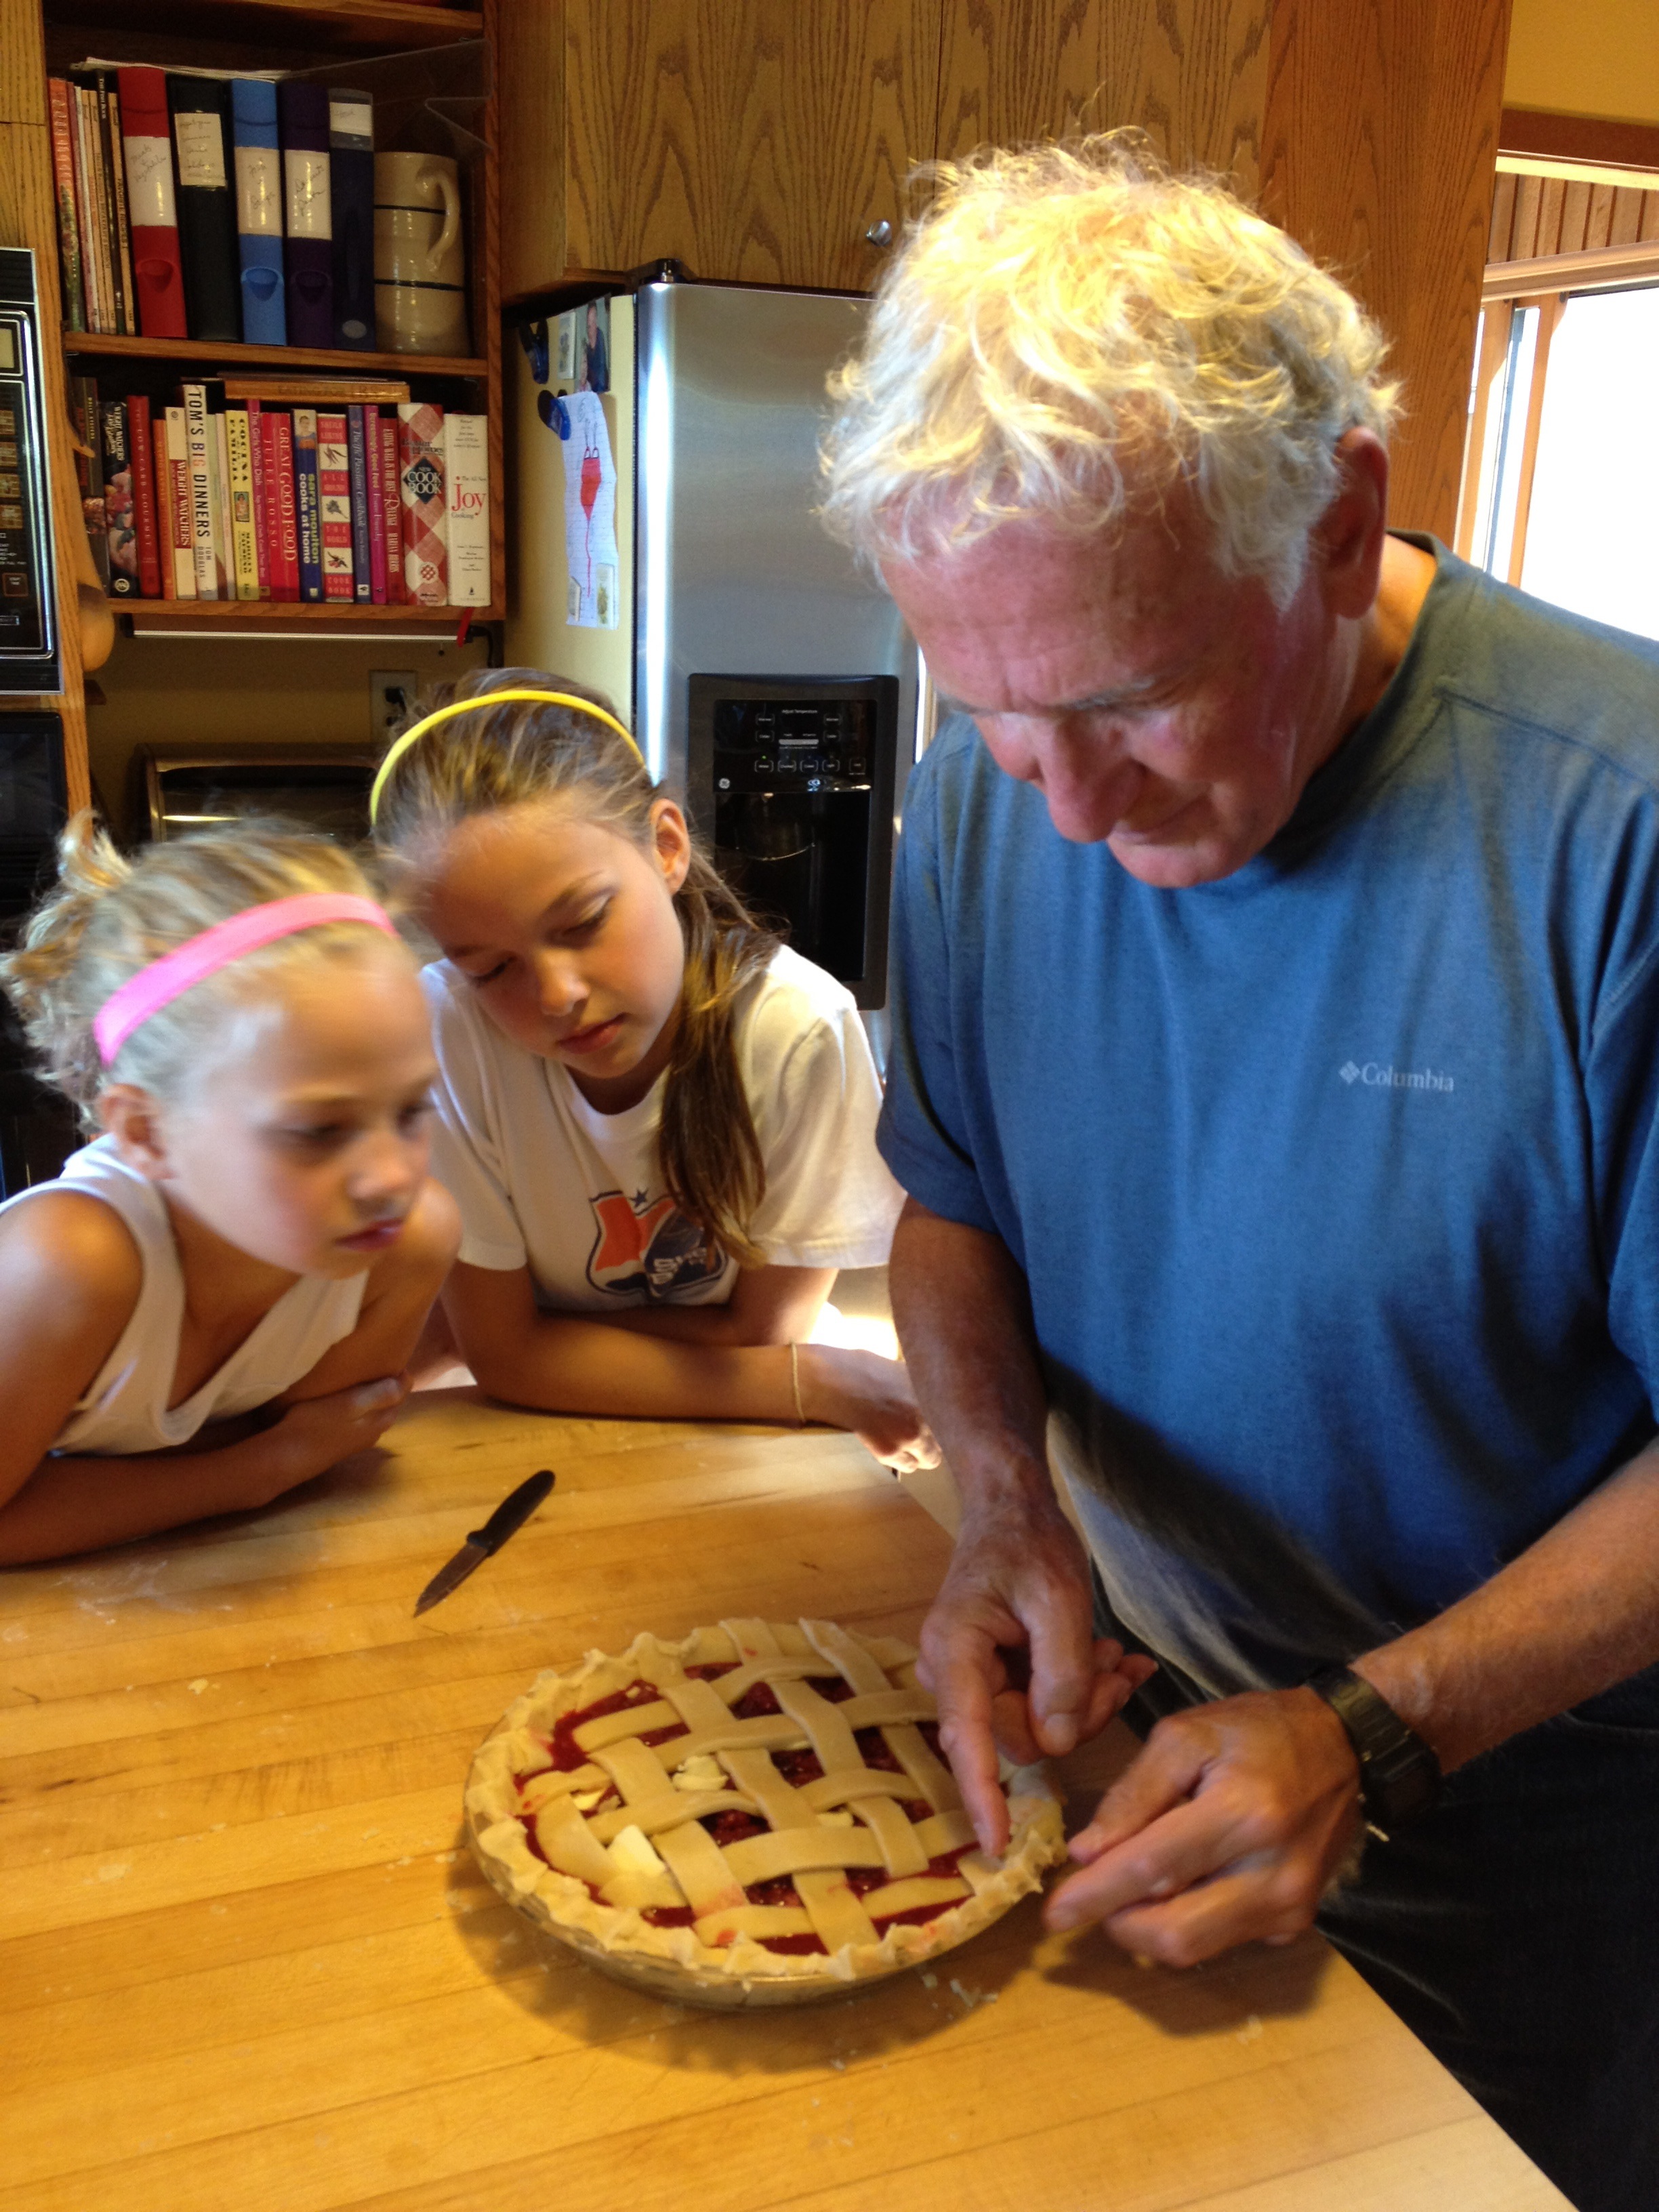
Carefully studying Grampa’s crust-crimping technique . . .
Life is better with pie!

Such a perfect Father’s Day tribute to your talented Dad! And to the meaning of pie!
Love,
A. Krispie
OMG that was soooo cute!!! Uncle Ron makes yummy looking pies, he looks so great too! oxoxo Margie
Delicious memories–and pie! Thanks, Susie.
XO
That is beautiful, Sue. Thinking of you