
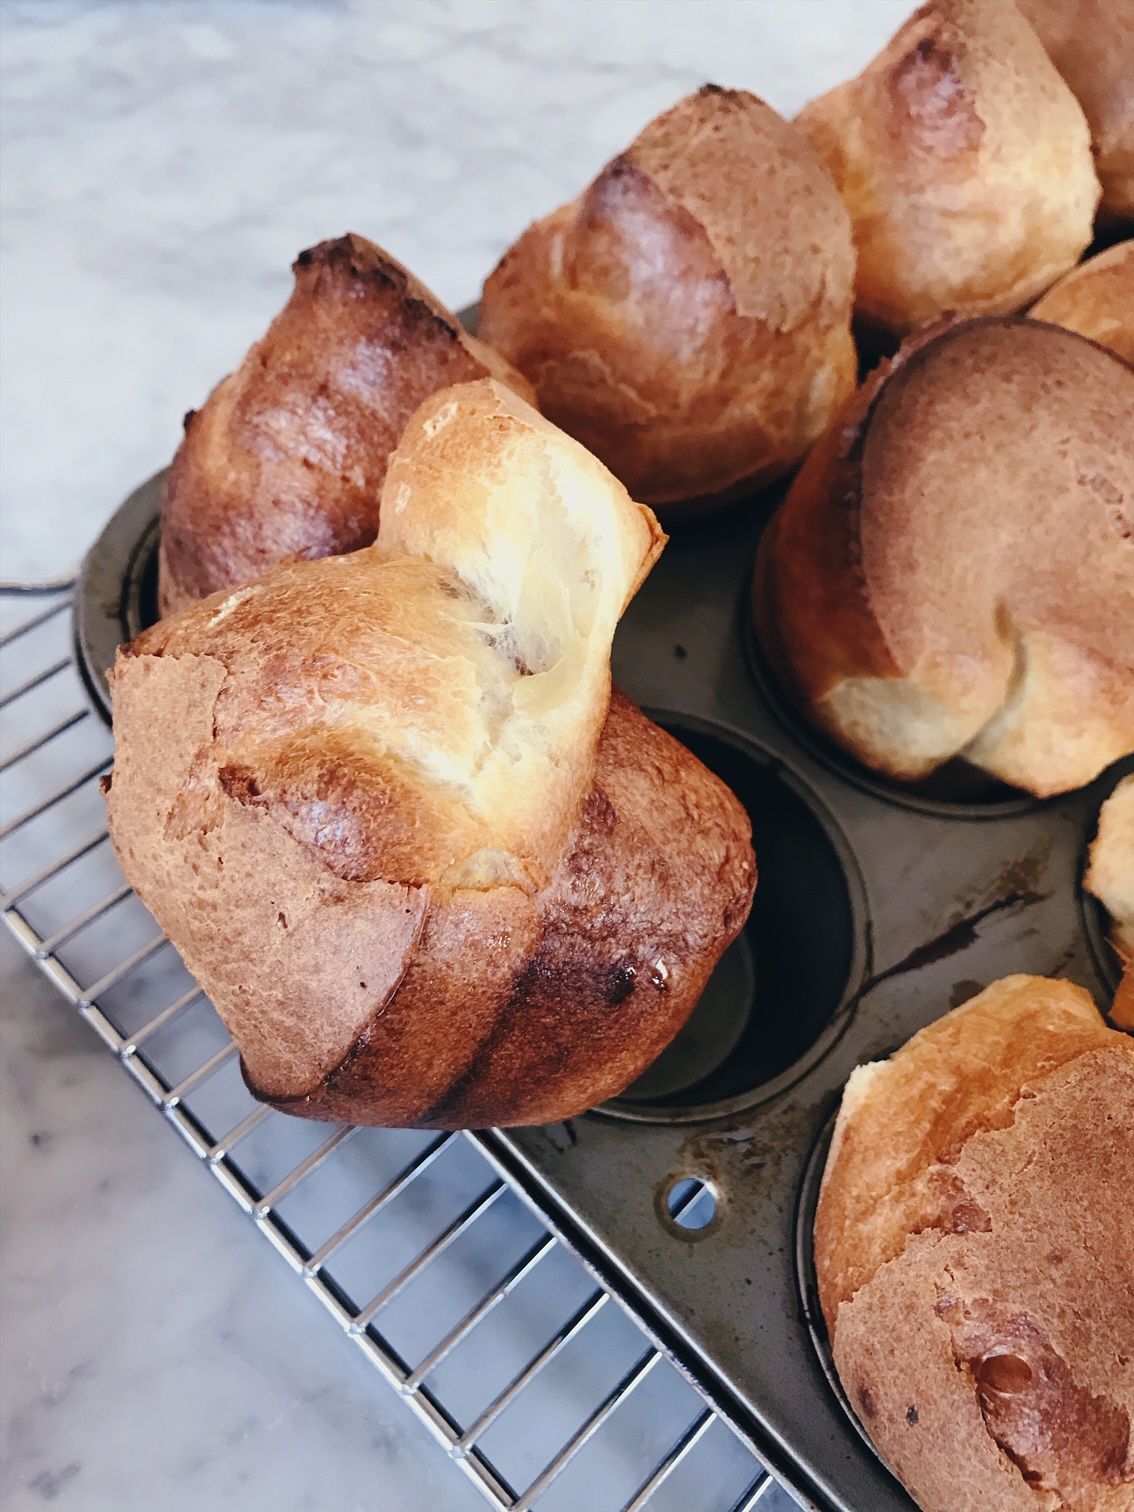
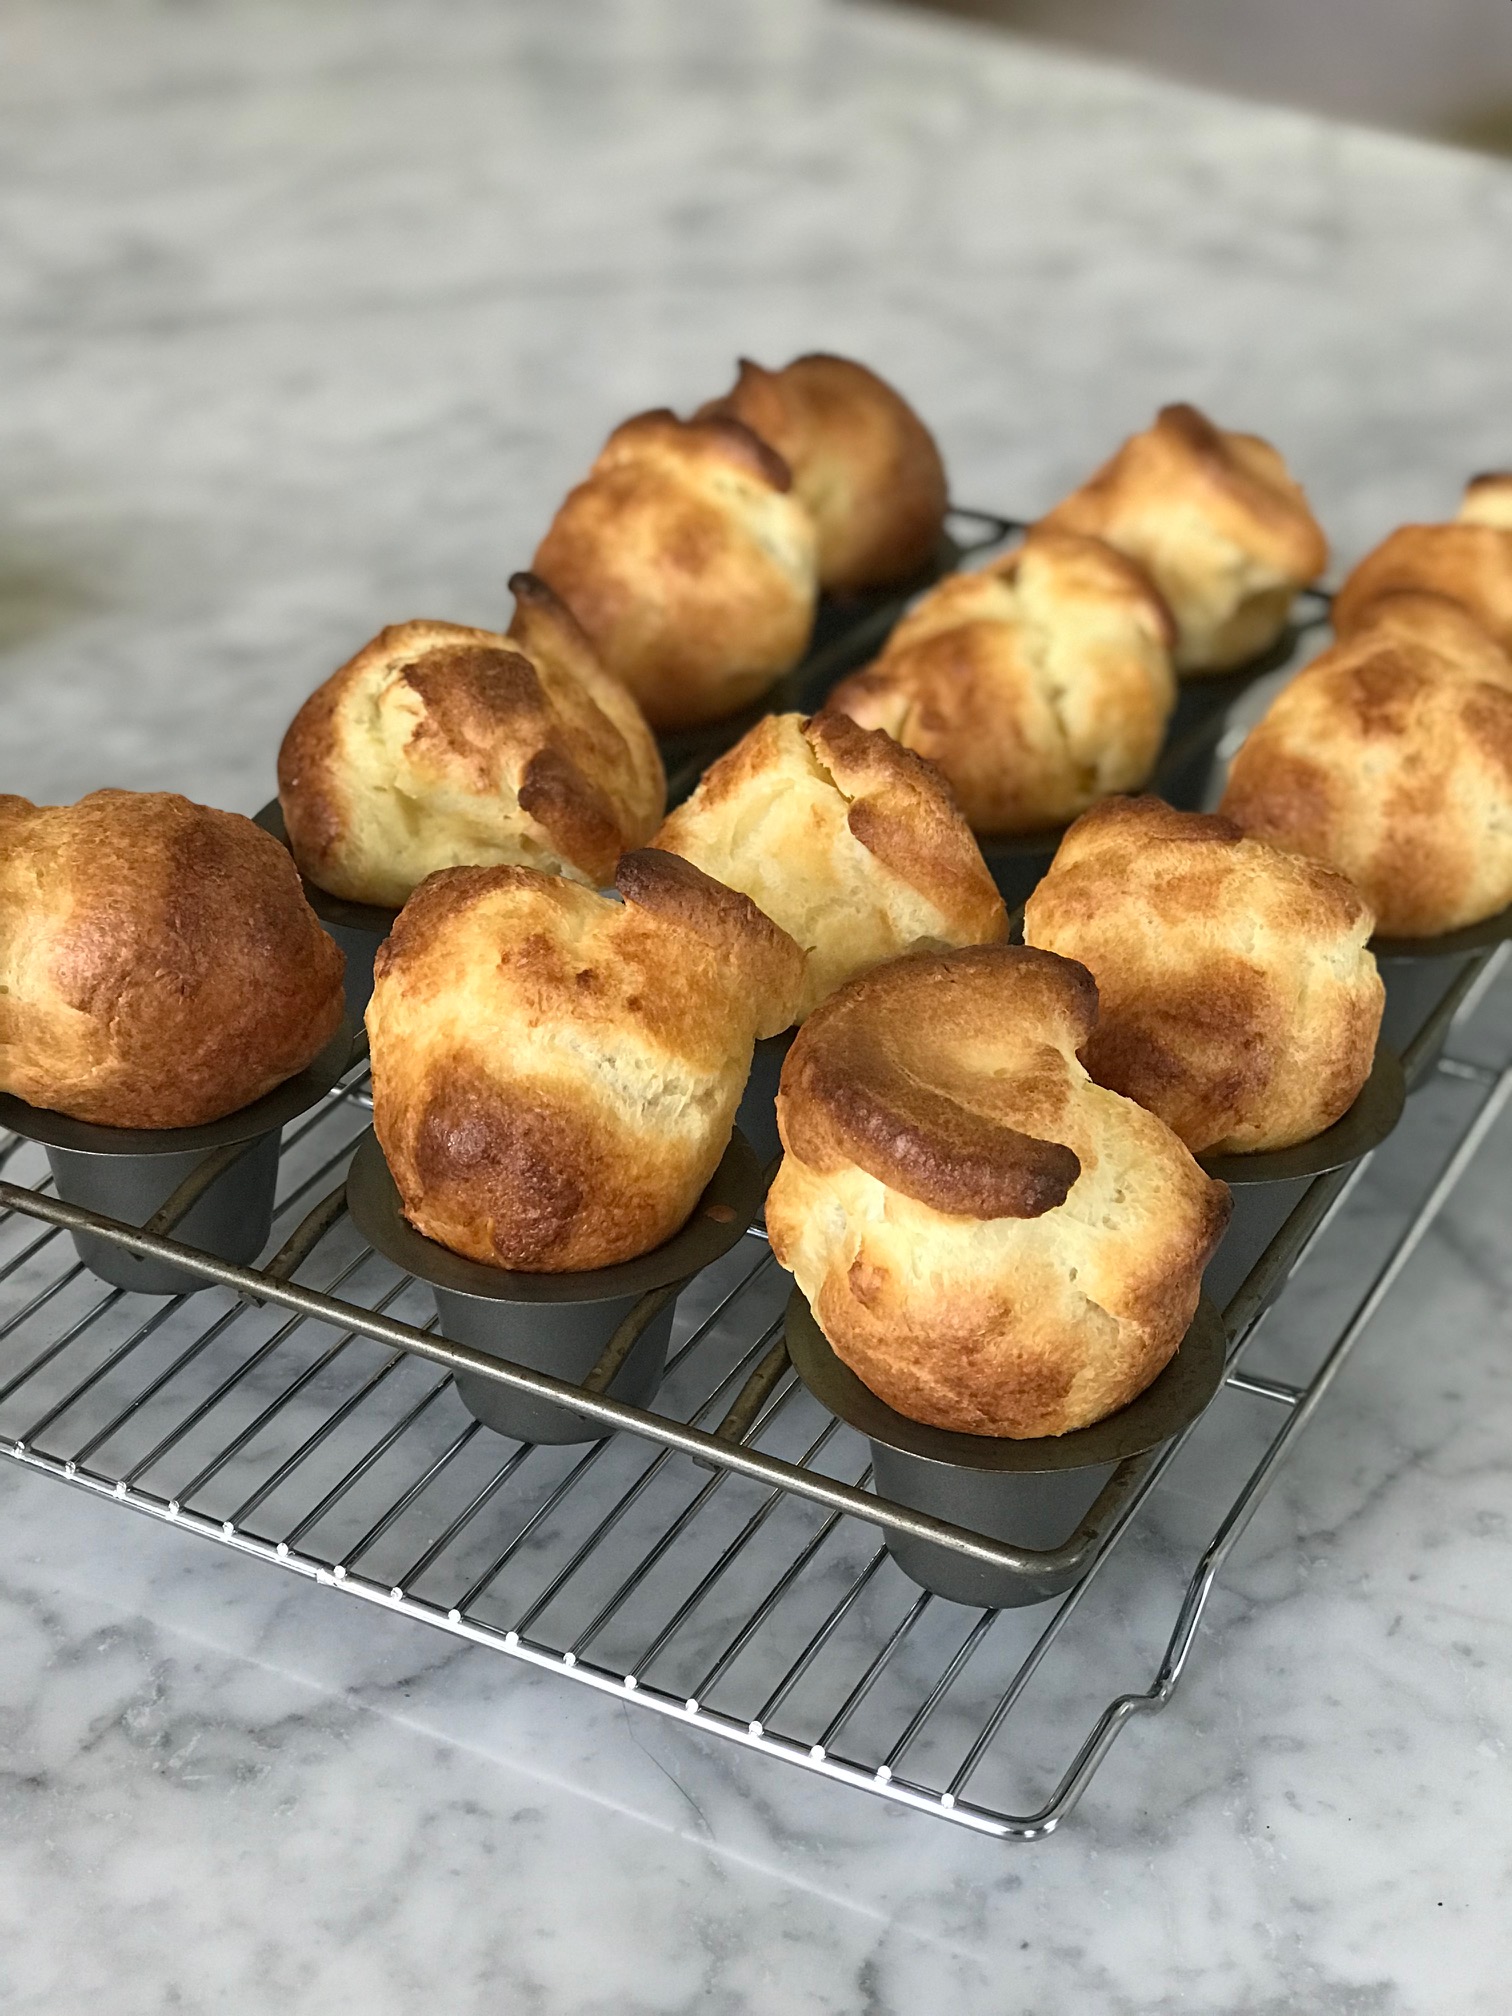
Popovers are magical. Golden-crisp outside, airy and delicately egg-y inside, these savory treats soar into towers from a thin, leavener-free batter. They also have the power to lure groggy teenagers out of bed on a Monday morning. Amazing!
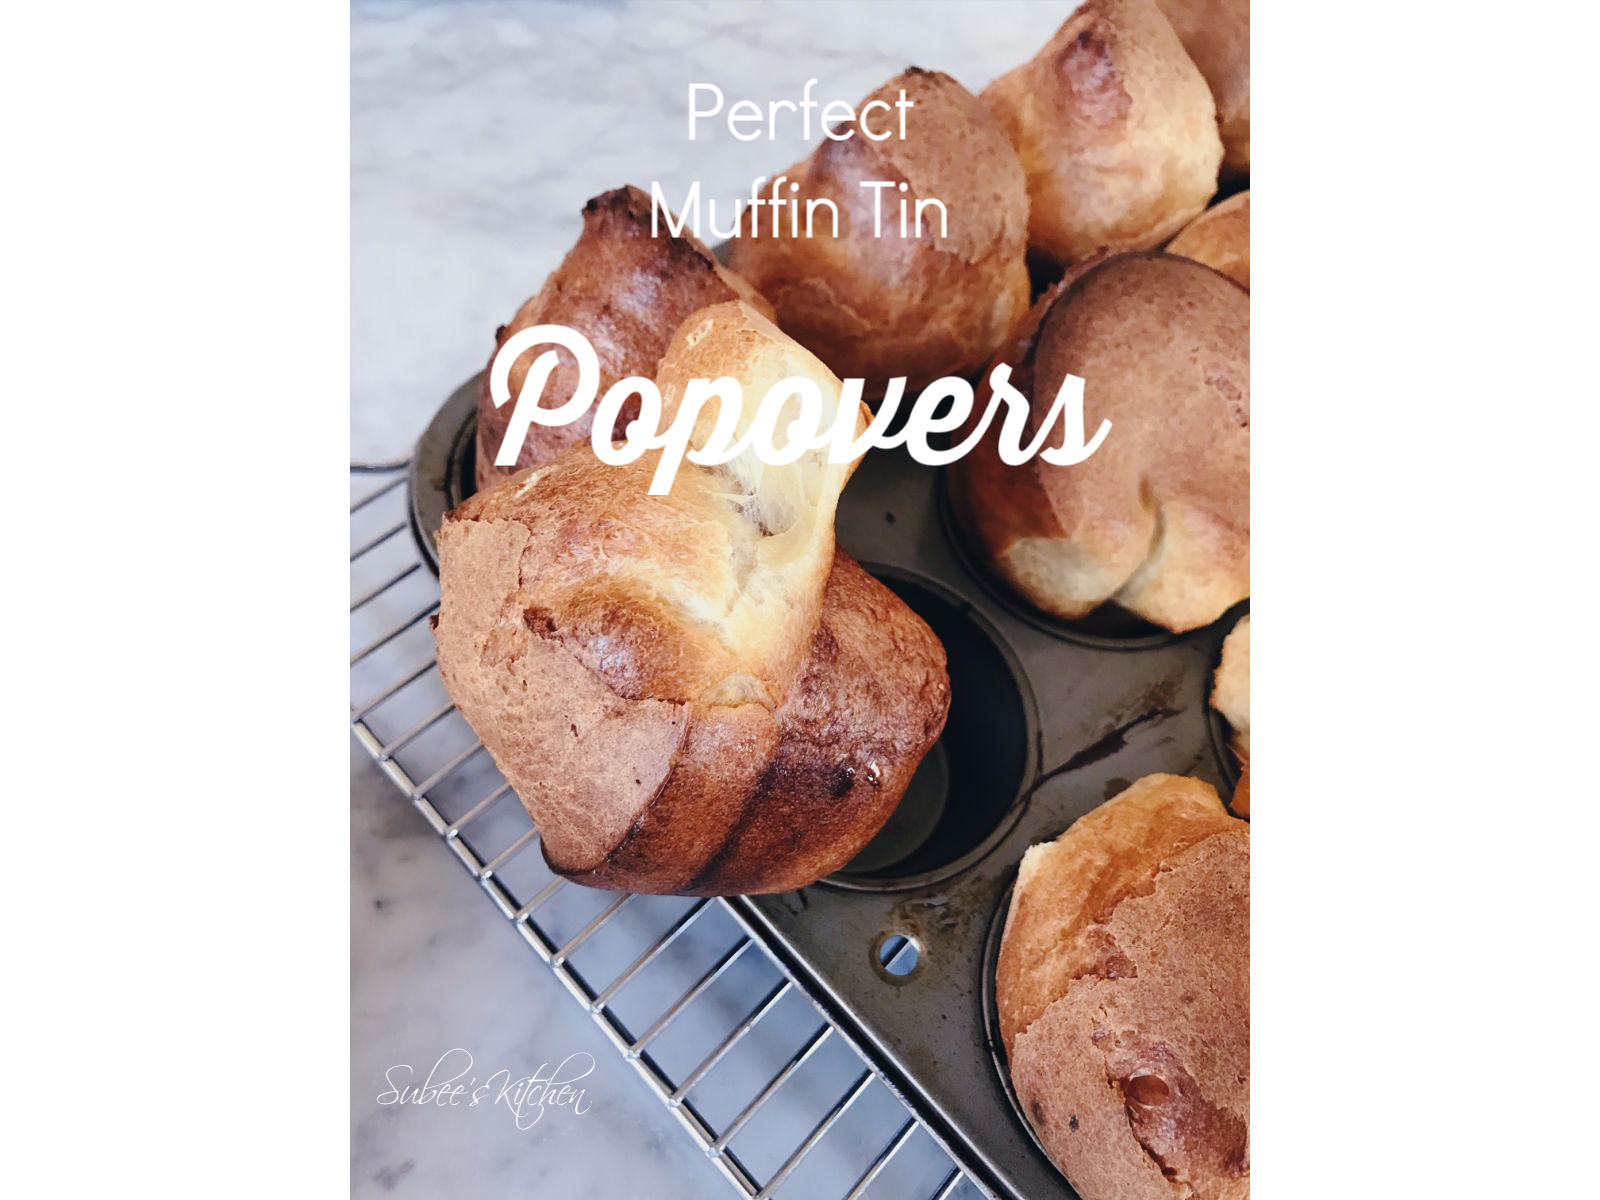
I used to think I couldn’t make worthy popovers without a special popover pan. (Many recipes say it’s OK to make them in muffin tins, but to expect a lower rise and denser texture.) So I bought the pan. It did make beautiful, lofty popovers, but I always struggled to get them out of the pan – no matter how much butter I used to grease the cups. Plus, I’m not a fan of single-use kitchen tools that clog drawers and cupboards. Thus began my quest for a simple popover recipe that would produce beautiful results in a regular ol’ muffin tin – and le voilà!
Rocket science? No. Kitchen science? Yes! The method that worked best for me was to start out with a very hot (450ºF) oven, with the rack set in the bottom third, and then lower the temperature to 350º after 15 minutes. No need to heat the muffin tin first, as many recipes instruct. Another trick I discovered for getting more rise: mixing the salt with the eggs first, before combining with the other ingredients. Finally, to combat the perpetual problem of pan-stickage: a quick spray of Pam for Baking! (Or flouring the pan after greasing.)
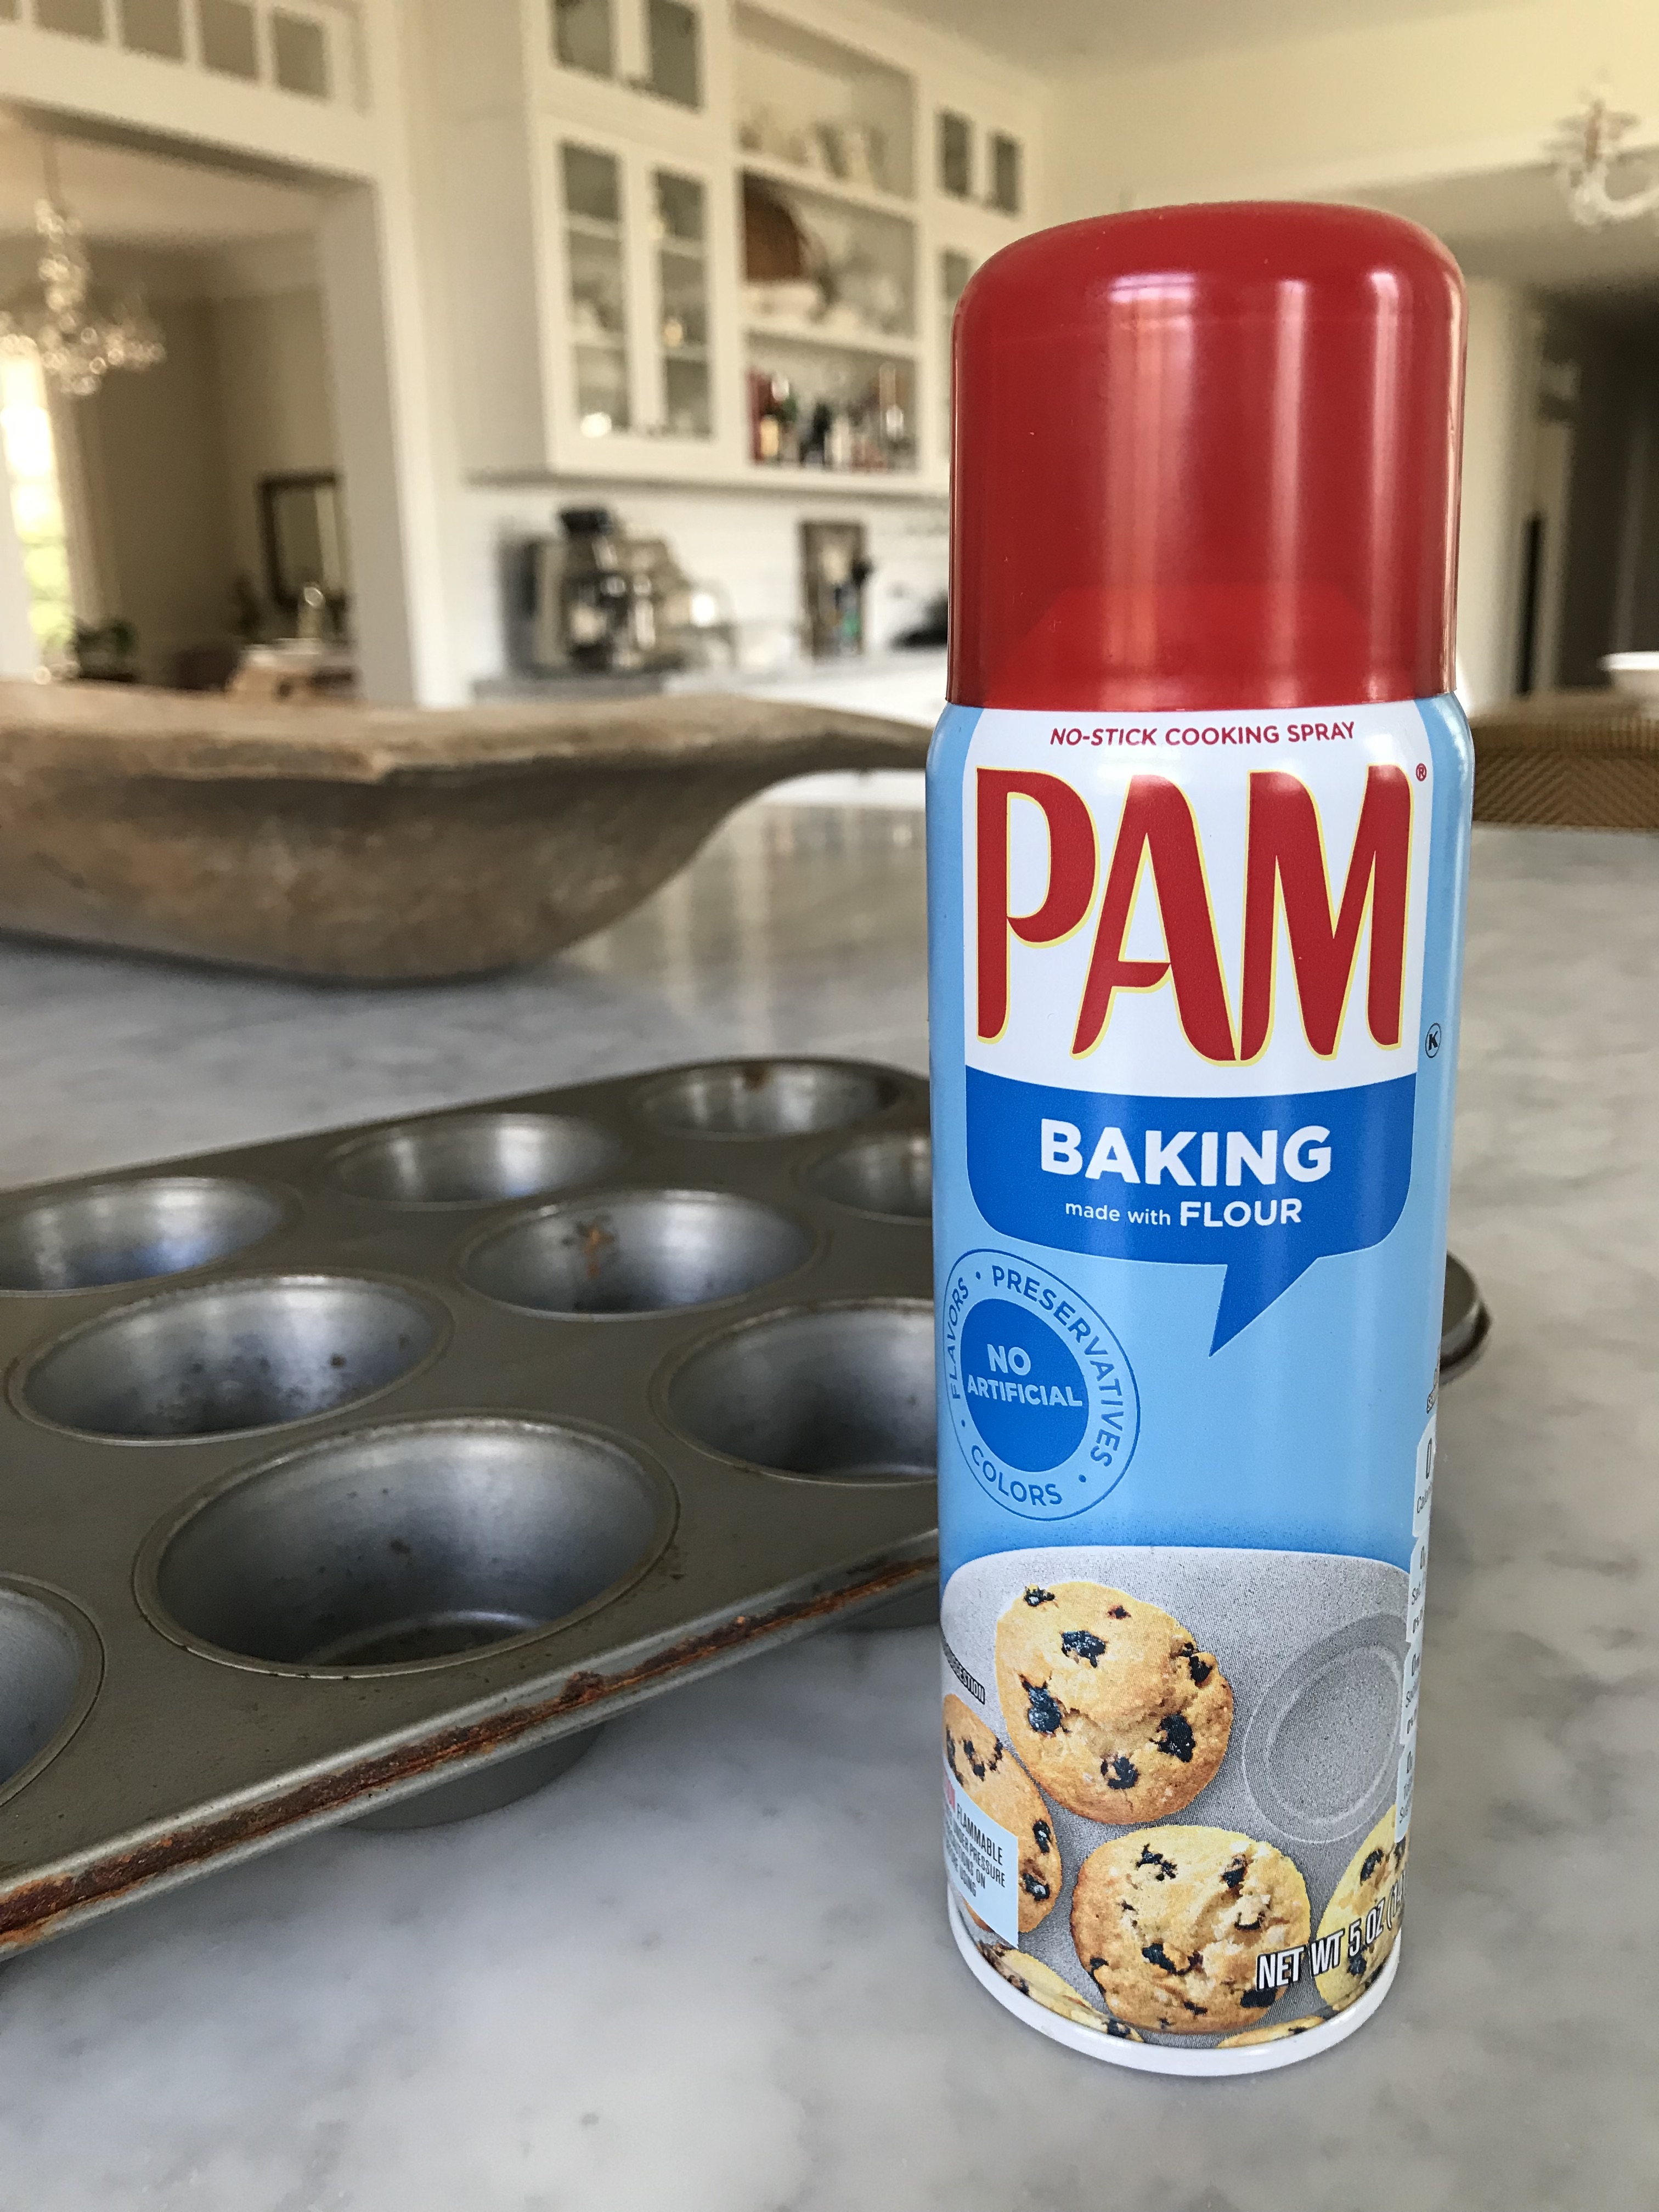
Pam for Baking: the easiest way to prevent sticking.
While delicious (and most picture-perfect) straight from the oven, popovers reheat surprisingly well. I store them in a ziplock bag or container in the fridge, then crisp them in our toaster oven the next day. We love these for breakfast (plain, or with jam), but they’re good with any meal or even as an after school snack.

”Popovers”
Ingredients
- 2 eggs, ideally at room temperature
- 1 teaspoon Diamond kosher salt (or ½ teaspoon table salt)
- 1 ½ cups all-purpose flour
- 2 tablespoons unsalted butter, melted
- 1 ½ cups reduced fat (2%) or skim milk
Directions
- Set a rack in the bottom third of the oven and preheat to 450º F. (Make sure your oven is clean or you’ll get smoke.)
- Spray each cup of the muffin tin with Pam cooking spray for Baking. Wipe off excess goop with a paper towel. (Or, grease cups with butter or shortening and dust with flour.)
- In a small bowl, lightly beat eggs with salt.
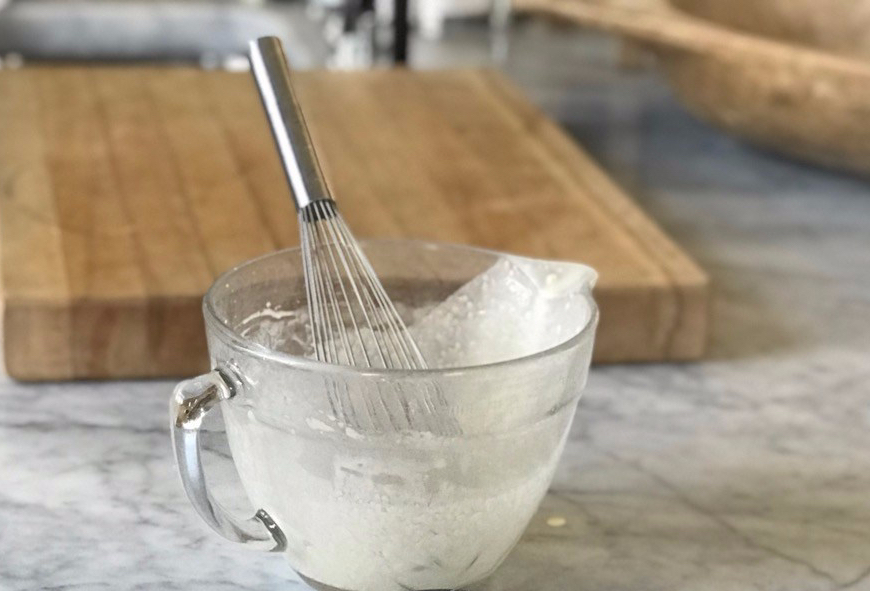
- In a batter bowl with spout, whisk flour to break up lumps. (Batter can also be made in a blender if you don’t have a batter bowl.)
- Stir melted butter into milk. Microwave milk/butter for 30 seconds more (to bring closer to room temperature and help popovers rise). Pour milk/butter mixture into flour bowl. Add beaten eggs/salt mixture and whisk to form a thin batter.
- Pour batter into prepared muffin tin cups, filling not quite to the top. Use a spoon to help redistribute batter evenly among the cups.
- Bake at 450º F for 15 minutes. Without opening the oven to peek, turn temperature down to 350º F and bake 18-20 minutes longer.
Serve immediately, or cool on a wire rack if saving for later. Can be refrigerated and reheated/crisped up in a toaster oven (directly on the rack) or regular oven (on a baking sheet or piece of foil; 350º for about 5 minutes).
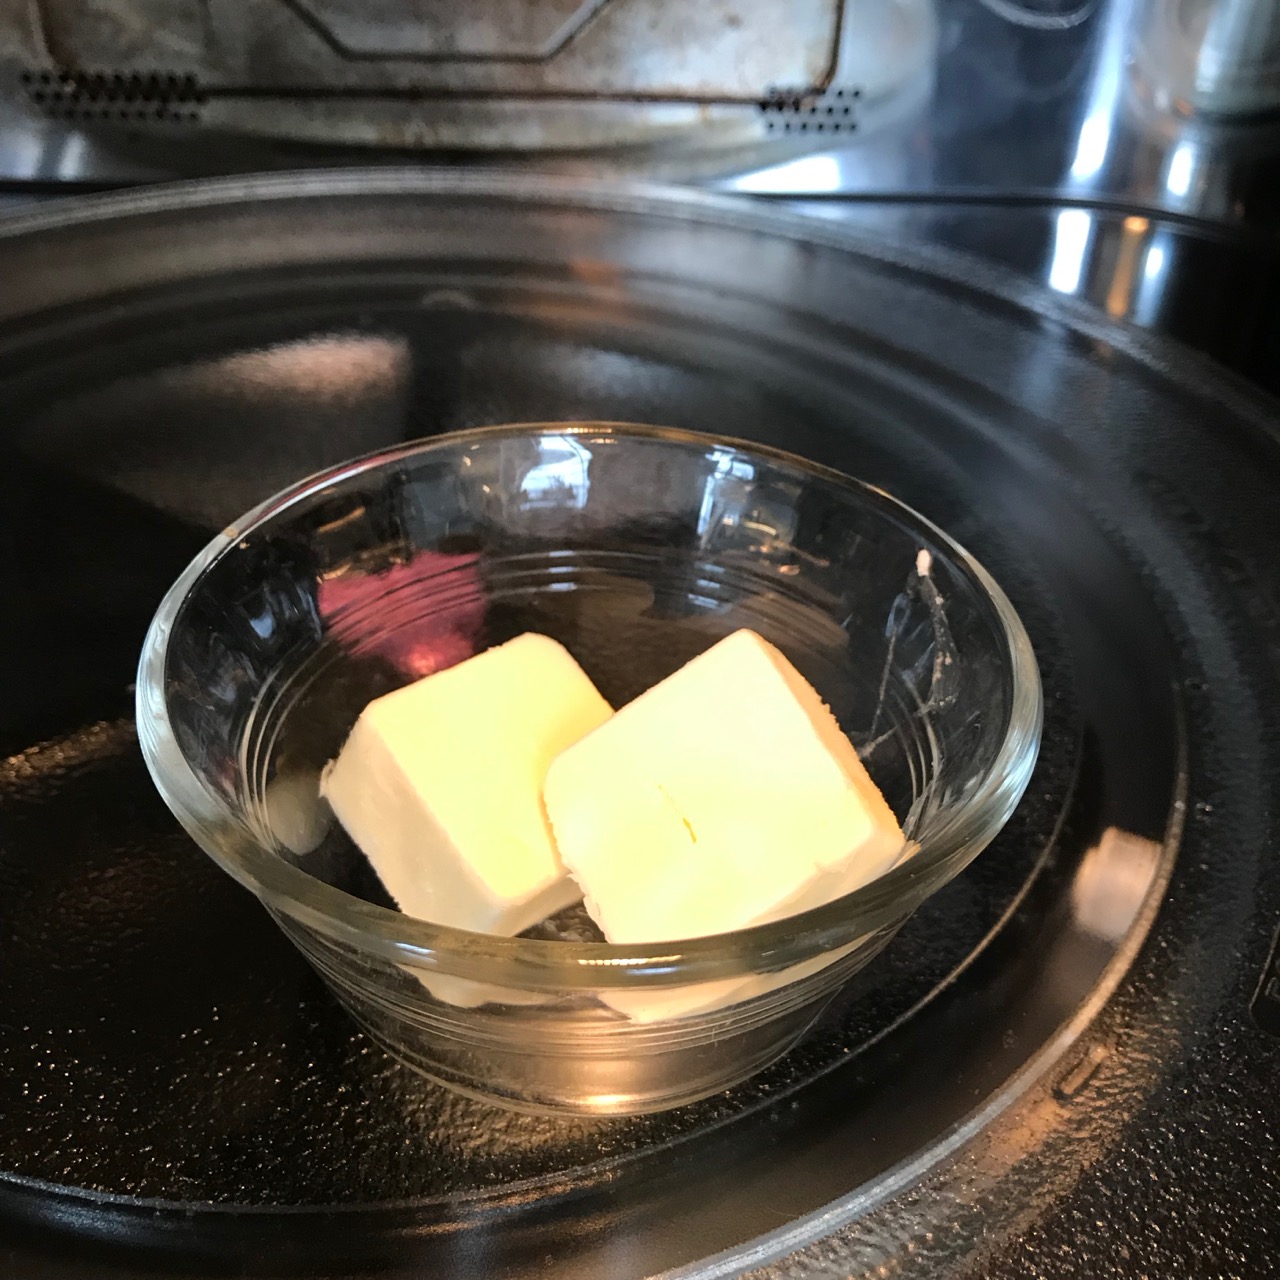
I melt butter in the microwave (30 seconds or less).

Mixing eggs with salt before adding to other ingredients.
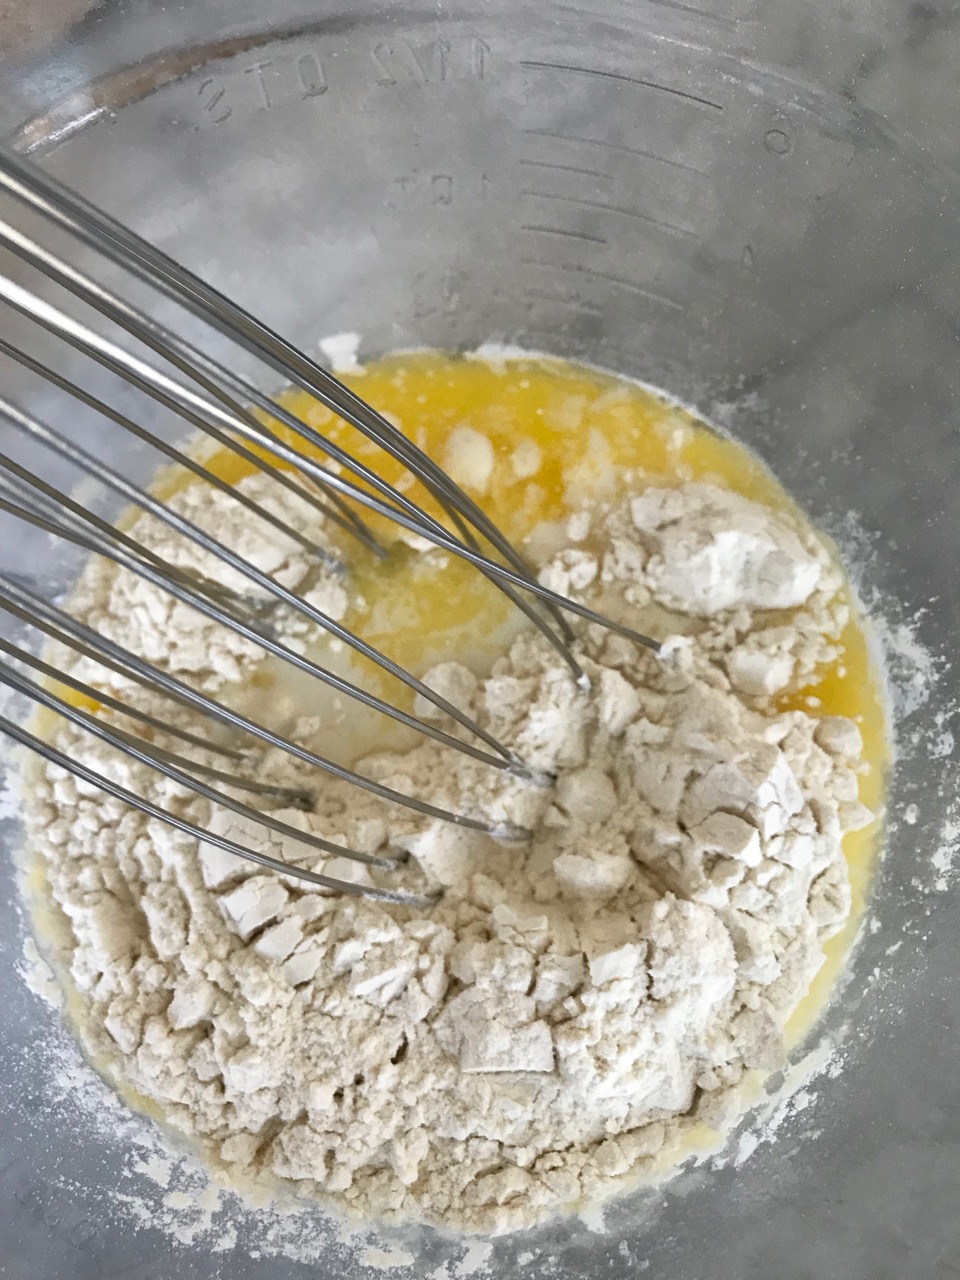
Whisking ingredients in a batter bowl. Like making pancakes — only better!

I promise this muffin tin is clean! #patina

Fresh from the oven. These won’t last long!
Finally — in case you’re wondering, here’s a batch made in the special popover pan:
Pretty! But the dreaded “stickage” . . .

which resulted in mangled popovers. (Still tasty, though.)

Yes, Pam for Baking would’ve helped — but isn’t it nice to know you can make beautiful popovers without a special pan??

I’ve tried popovers in the past with unimpressive results….This posting is so encouraging I am ready to try again! Thank you for the clear outline of how to be successful and avoid sticking!
Give them a try and let me know how it goes!
these look GREAT! I can’t wait to try them.. hopefully this week?! I actually just opened your blog for the peppermint patties recipe that I am making for a friend… 🙂
Awesome! How will you package your patties?