

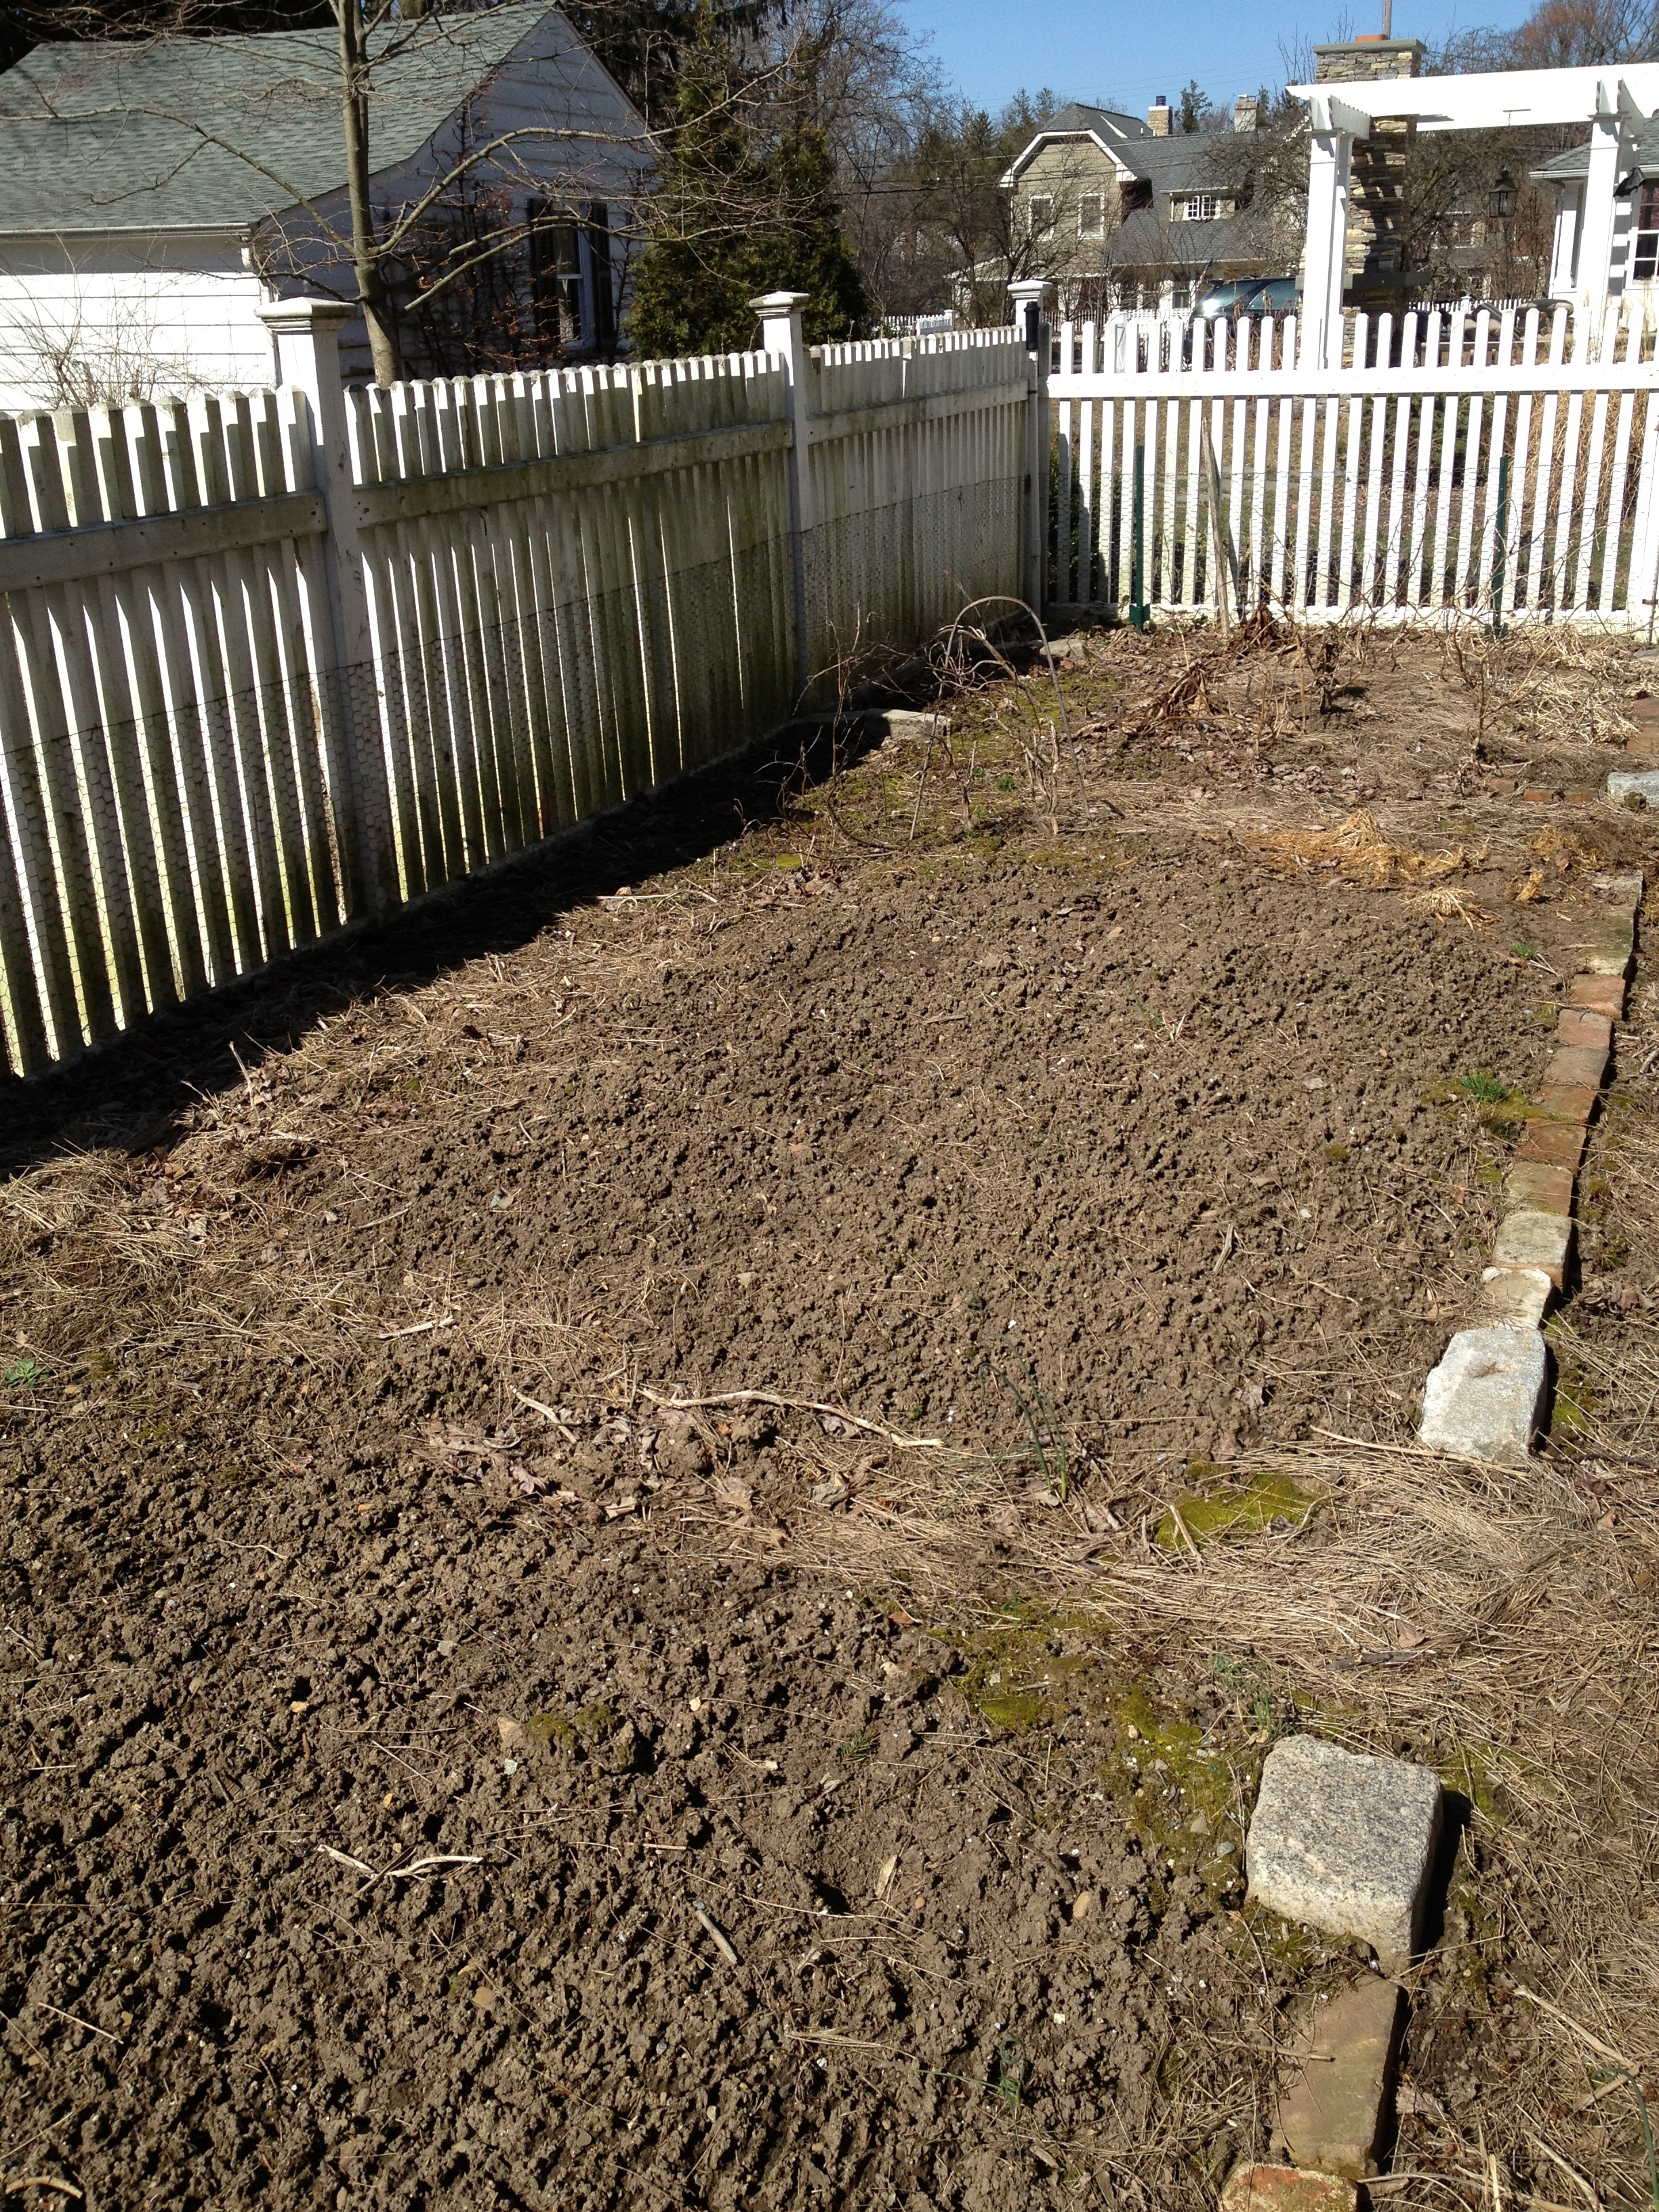
Even though the promise of spring is only a few weeks away, my vegetable garden is still a threadbare blanket of winter’s despair.
OK – that’s a little dramatic, but month after month of cold, dark days can really bring on a case of Spring Fever in a person. The remedy? Planting a pot of pea shoots or micro salad greens indoors, to savor spring a little earlier than Mother Nature intended.
Delicately-flavored shoots and microgreens are easy to grow if you have a sunny window.They’re chic, too. In Paris last January, my friend Gena and I saw leek microgreens (snipped) and sprouts (seed and all) everywhere – the culinary world’s “It” accessory of the season. One restaurant took this trend to the extreme, dressing almost every dish with the oniony green threads.

Gena, in Paris with a leek sprout-topped salad of shrimp and grapefruit sections.
As my second-grader will tell you, growing things from seed is pretty easy – and fun, too! You don’t need fancy seed-starting equipment – just a pot, some potting mix, and a packet of seeds. (Though covered seed trays are handy if you’re growing different varieties and have the window space for them.) All kinds of vegetables can be sprouted and snipped as gourmet microgreens: broccoli, mustard, radish, kale, arugula and so on. Some sprout more easily than others; most are snipped at about 2″ tall. We are partial to pea shoots and tendrils – they’re extra-easy to plant, quick to grow, and tasty to eat. (They taste like a cross between fresh peas and lettuce.) About 2-3 weeks after planting, the pea shoots are ready to snip. I usually toss them into a salad, but the kids snack on them straight from the pot.

Fresh-snipped pea shoots
Growing Pea Shoots
Materials:
- 1 packet pea seeds (dried peas)
- 1 medium-sized pot (approx. 8”)
- 1 small bag potting mix
- Colander or strainer
- Spray mister (optional)
- Glass pie pan or plastic wrap (optional)
- Sunny window

Fill a medium-sized bowl with water; add the peas and swish around with your fingers. Let soak a few minutes.
Fill pot approximately 2” from the top with potting mix. Mist the potting soil with a spray mister, or use your fingers to sprinkle water across the top.
Drain the soaked pea seeds in a colander or strainer. Scatter peas evenly over the pot and cover with about 1/2″-1″ of potting soil; pat soil firmly. Mist or sprinkle again with water, and then cover with an upside down glass pie pan or plastic wrap. This is optional step, but it will help create a moist, terrarium-like environment and get things growing quicker.
Place pot near a sunny window. You should see the first little green pea necks popping up through the soil in about a week. Don’t worry if it looks like the peas are popping up out of the soil; they’re also growing a root down below. You can remove the cover once the peas have sprouted.

Pea shoots emerging after about a week.

This was not a very clean pot!
Mist or sprinkle the top of the soil with water every few days to keep things moist. When the shoots are about 2-3” tall, it’s time to harvest! Pinch the shoots above a leaf junction, and the plants may send up more shoots. Or, do as I do and just cut off what you want with kitchen shears. You can always plant more.
As for the outdoor vegetable garden, I’ll have plenty of work to do once spring’s officially here. I might as well enjoy the tranquility of winter for a little while longer.
Spring Vegetable Garden To Do List
March:
- Shop for seeds (see links below)
- Start cleaning up garden
April:
- Finish cleaning up garden
- Top beds with organic compost
- Hunt for grubs
- Sow cool-season crops (arugula, lettuces, chard, kale, pole and snow peas, beets)
- Start ‘Sun Gold’ cherry tomato seeds indoors (I’ll buy all my other tomato, pepper and eggplant seedlings in May, but for some reason very few local nurseries stock this super-sweet variety)
- Harvest asparagus spears??
Early May:
- Sow/plant warm-season crops (from seed: beans, zucchini, mini pumpkins, cucumber; from nursery: annual herbs, cherry & beefsteak tomatoes, jalapeño peppers, ‘Ichiban’ eggplants)
- Harvest baby salad greens for dinner
- Milk the goats; make fresh chèvre for the salad (Oh wait – I don’t have goats.)
Seeds, Gardening Info & Resources:
- Johnny’s Seeds (large selection of organic and conventional seeds)
- The Tasteful Garden (seeds, plants and helpful gardening info)
- Seeds of Change (organic seeds)
- Sprout People (sprouting equipment, seeds and how-to)

Thanks, Sue. Would like to know what you use or would recommend for composting in our hood. I have a small garden and a small yard. Do not want visitors. Anyone out there successfully composting? Would love some suggestions.
Hi – Some people use the covered compost drums that you turn from time to time to mix. The ones on wheels are good b/c you can wheel to the garden or wherever you need. Gardener’s Supply (gardeners.com) has several different models to check out. Happy composting!